Advanced

Advance Topics

Most topics here probably require access and editing core files in the desk directly.

Make sure you launch your text editor with appropriate permissions as a normal user may not have rights to save edits.

Attachment file size & type

Can be modified in /protected/config/idesk.ini.php.

maxFileSize = 2097152, // 2MB
acceptFileTypes = "js:/(\.|\/)(jpe?g|png|doc|docx|pdf|gif|txt)$/i"

Testing LDAP connection

The utils section has a file which can be used to test connection issues and is located at server_web_path/utils/ldap-browser.php

This file opens with default connection to an open test server for ldap. If all is well, you should see data populated below the form area. Else an error message should be returned.

Enter credentials of your local ldap / AD server to test.

Database access

Adminer provides a single page php file to access most popular databases. It is located under your-server-url/utils/ and the time of writing this was the version adminer-4.1.0-en.php

You will need your credentials to access the database.

Changing Logo

It is usually a good idea to have a logo handy in case you do decide to change it from the default one during install. However, you can do this later. Find the file idesk-install-folder/images/logo.png and replace it with your own logo file. Make sure your replacemenet logo file is .png and not greater than 110px by 30px.

Backup

Backup for Idesk constitutes of two parts

  • Database and
  • Attachments

Database

We assume that, as an admin, you are familiar with databases and backing them up on a regular basis.

Still, there is a database backup utility provided and is under your-server-url/utils/ folder. Follow the file to read about options.

Also provided is a basic ftp utility for copying to an external ftp server and is available at your-server-url/utils/ftp.php

If using a windows server, it is usually straightforward to create a .bat file for running copy or xcopy commands and adding this to Schedule Tasks.

Attachments

To backup attachment, simply backup the attachments folder. This folder contains images attached to tickets and used by Knowledge Base.

In any case, several deployments use a Virtual environment and server backups or snashots are an integral part of the general deployment.

ToDo [Scheduler] - Calendaring (ICal), ICS

As with knowledge base, no special configurations are needed to work with the internal ToDo called Scheduler.

As an admin, you would however need to provide required permissions via Roles to enable access to the menu item Scheduler and enable the dashboard panel ToDo.

For integrating desk's ToDo to a user's personal calendar in an external application, read the section staff/todo-scheduler which provides details on using calendar feed (also called Internet Calendar by some applications) and email based integration using .ICS files.

As a recap, entries can be made from an active ticket by clicking Add To My ToDo, and from the scheduler interface directly.

Emails and mail formats

Emails

The desk ships with emails enabled by default. The settings need to be configured in the Host & Mail settings area though.

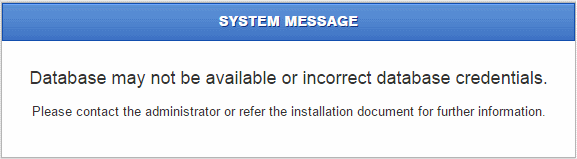
With emails enabled, mails are sent directly via an smtp server. In situations where the mail server is not available for whatever reason, mails are held in in the database in a que and are sent whenever the mail server is available.

If, for whatever reason, you would like to disable emails, you can do so in protected/config/params.php file. Locate the following entry:

'enableMail' => true, // set to false to disable emails

The desk can also work in a mixed mode where you can store mails as a locally dumped eml file. This can be helpful for debugging or trouble shooting.

To enable, open protected/config/params.php file and locate the following lines:

'testMode' => false, //Set to true for local eml

Mail que, List Count

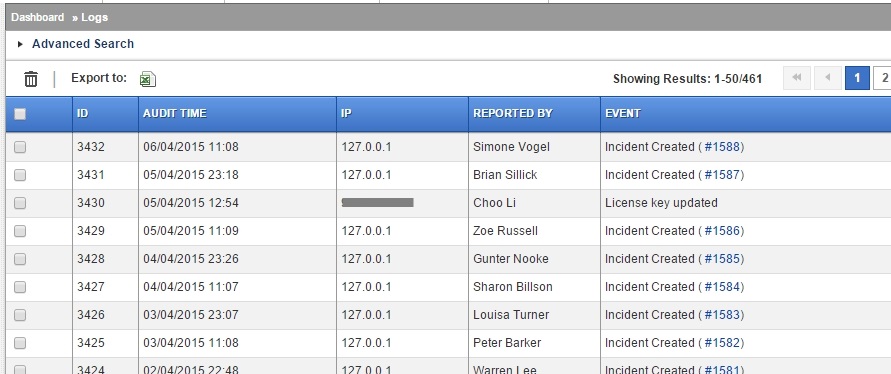
There is one more setting to note. By default, mail que is enabled. What this means is that all mails generated by the desk are dumped to the database and sent on cron. The exception being mails generated during interaction by any user working with tickets which though are sent right away are also logged in the que table. The que table is emptied whenever the cron runs for AD sync, which by default is set to run once every 24 hours. This can be used fro debugging outgoing mails if required. Each mail record contains a unix time stamp of when the mail was sent else a blank/null if the mail is still held in a que and could not be sent.

The advantage of such an approach is to protect against loosing mail if mail server is inaccesible for any reason when mails are generated. For trouble shooting mails, you may to turn this off or on based on your test scenario. Changing to false turns the que function off.

Do note if mail que is enabled, scheduled task or cron must have been setup to fire the kickron.php file as discussed in the section on cron.

Find the settings in the same params file:

//Email queue setting
 'emailQueue' => array(
 'enabled' => true,
 'listCount' => 10
 ),

Also note the listcount setting which is a counter for number of mails to be sent to an smtp server in one go. Some servers can be moody and blacklist applications if these send too many mails during a single request. Fine tune the default of 10 as required.

Mail Formats

Formats for outgoing emails from the desk can be customised. You would need some html and php skills though!

In most cases, a support technician at Idesk can help you with it.

Mail templates are located in server_path/protected/views/mail and are pretty straight forward.

Standard mail format example:


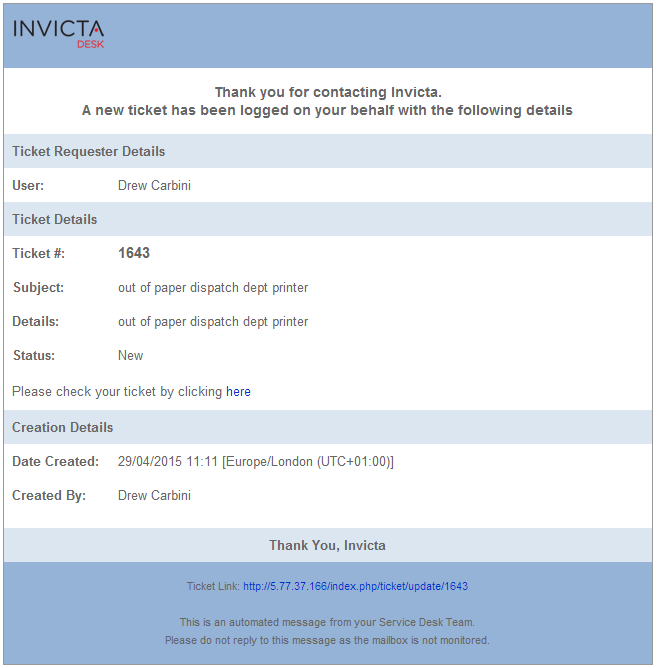
Subject lines indicate the workflow status as well.

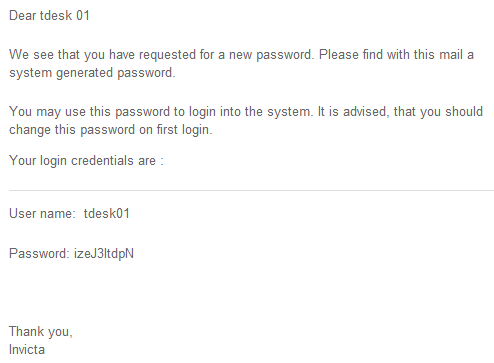
Mail format for “Forgot Password”

Note: This is only used in case od WEB type Idesk user. Forgot password from login area do not work for AD type users as passwords for such users are not stored within the desk.

is located at server_path/protected/views/mail/forgotPassword.php. Sample mail format for forgot password

Logs

Logs accessible from within the desk

Mail Logs

Mail logs contain a record of mails received via email by the desk but FAILED to be processed. Mails which have been successfuly processed are not logged here as these would in any case have been coverted to tickets.

System Logs

Nearly all interactions performed in the desk are captured here. Actions performed by Schedule Tasks (Cron) are logged as Super Admin (or whatever the name of the super admin is) as the process runs under super admin context.

Other Logs

Application level logs are in

server_path/protected/runtime/application.log

and have most access information.

Refer Schedule Task / Cron section to enable Cron logs.

Special Logs

There are settings to enable application level debug Logs. Speak to a technician at Idesk who can help you debug application level issues if you are experiencing problems at code level.

Also see the section Troubleshooting.

Trouble shooting

Page load times

can be enabled in /protected/config/main.php file and used to evaluate performance. As a benchmark, a system with roughly 7000 tickets should load the dashboard in under 0.4 seconds.

Server not reachable

No Database access

Error management

Error tracing and management is done at two levels: Built in within the interface and forcing errors to be displayed on a page.

Within the desk

Most errors can easily be captured by the desk itself. If a section of the application causes an error, the error trace is available on the page itself. In case reporting such an error, pls copy and paste the text from the error box in your message. See screenshot below.

Display errors on page

If you land up on a page with the above error display, click the Error Detail link and copy and email the contents inside so we can trouble shoot the issue.

Schedule Tasks & Cron

Kickcron.php has relevant code to make a web call to idesk functions which need to be run periodically and can be found at full-path-to-idesk-install-folder/utils/kickcron.php.

Set this file to be called every 1 minute or 2 minutes or whatever update interval is acceptable in your setup.

Please ensure paths are correctly set for your server in kickcron.php.

What task are run

  1. Emails are retrieved and processed
  2. Escalations tasks are performed
    1. Escalation rules are processed
    2. Escalation emails are triggered
  3. AD records are synced
  4. Breached escalations are cleaned from the database table
  5. Other maintenence tasks are performed like old log entries

Note on AD Sync

The default value of AD sync interval is set to 24 hours with a fresh install of the desk. This can be changed in Application Settings / Sync AD.

The last-sync-time is maintained across server reboots and the UNIX time is logged in idesk-install-folder/protected/runtime/state.bin in the serialized string "lastAD";i:1428907934

Setting up in Windows

Create a task in Task Manager to invoke php.exe and pass the kickcron.php entry file as argument. Set task to run unattended for example under system account and start at boot - repeat every 1 minute.

In the following example, php.exe is in the xampp folder. Notice path to the kickcron.php file in the following image.

Setting up in Linux

You can use lynx, wget or curl to make a web call to the kickcron.php file. It is usually a good idea to pass the full path of the executable and pass that as an argument to the kickcron.php file. Wget maybe better if lynx is not installed and you are not so keen to install another redundant component.

An example entry to run every 2 minutes:

*/2 * * * * /usr/bin/lynx -dump http://localhost/utils/kickcron.php > /dev/null 2>$1

You can also use wget and is the cron entry with the Idesk linux VM:

*/2 * * * * wget -O - http://localhost/utils/kickcron.php > /dev/null 2>&1

You can also use path-to-php-bin or add a hashbang to run kickcron.php file.

Close
...